
Nothing humbles a home cook like a bowl of dough sitting there, doing absolutely nothing. I have watched line cooks coax life out of a sluggish sourdough starter mid-service with the same intensity they reserve for a broken espresso machine. Bread is alive, in a way, and it only has a few basic needs.
If your dough won’t rise, it is usually one of these: the yeast is not viable (or not used the way that type expects), the dough is too cold (or too hot), salt is inhibiting fermentation, hydration is off, gluten is underdeveloped, or you simply have not given it enough time. Less common but real: heavily chlorinated water, very acidic dough (especially sourdough), sugar and fat levels high enough to slow standard yeast, or dough that quietly over-fermented earlier and now has nothing left in the tank.
The good news: most “dead” dough is not dead. It is just uncomfortable.
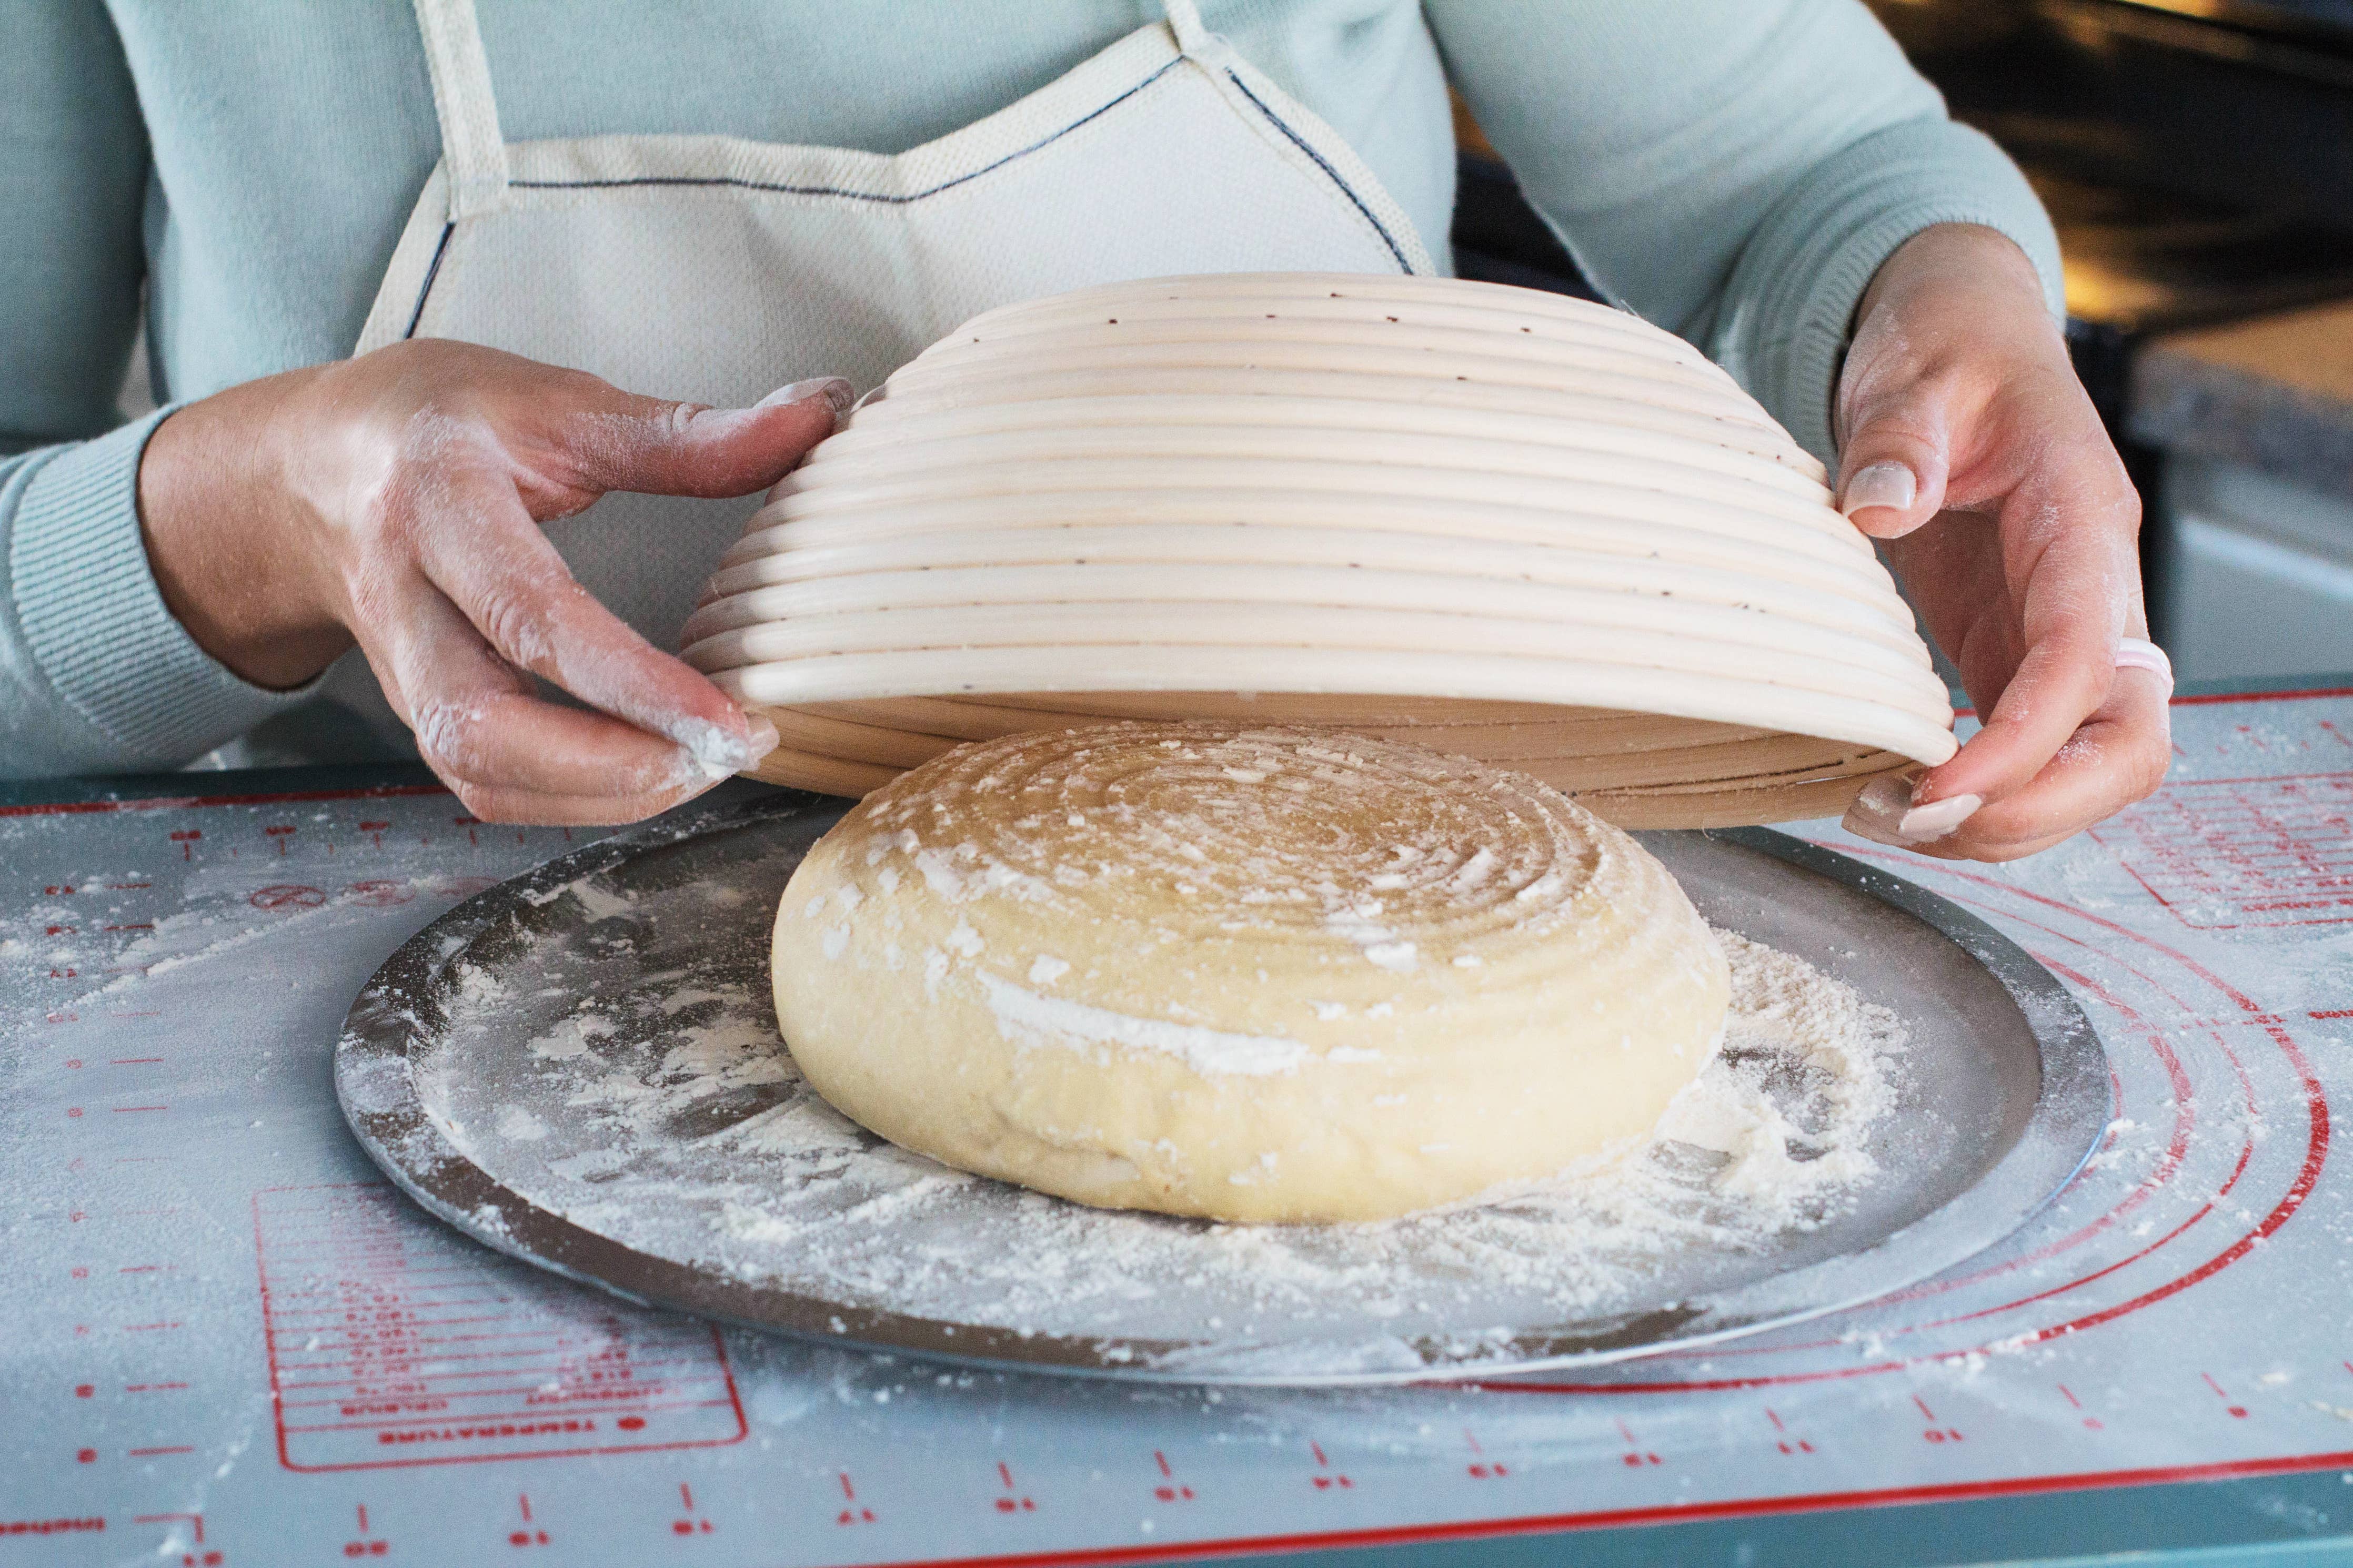
First: what “not rising” means
Before we troubleshoot, make sure we’re talking about the same problem. Dough can ferment without dramatically doubling, especially with whole grains, low yeast, cooler rooms, or enriched doughs (butter, eggs, sugar).
- True no-rise: dough stays dense and tight for hours, little to no bubbles, feels heavy and cool.
- Slow-rise: dough gradually puffs, small bubbles appear, but it is taking longer than your recipe says.
- Over-proofed (rose, then collapsed): dough gets very puffy, then deflates, turns slack and sticky, and bakes up flatter.
Quick check: gently press a floured fingertip into the dough. This test is most useful during the final proof (after shaping), but it still offers clues in bulk.
- Springs back fast: it needs more time.
- Springs back slowly and leaves a slight dent: it is close.
- Does not spring back and feels fragile: it may be over-proofed.
The big culprits
1) Yeast that is weak, dead, or mismatched
This is the most common heartbreak. Yeast loses strength from age, moisture exposure, and heat. Also, different yeast types behave differently:
- Active dry yeast often benefits from being dissolved first (especially in cooler kitchens).
- Instant yeast is designed to be mixed right into flour and may not foam dramatically if you try to “bloom” it.
- More reliable signs: after 60 to 90 minutes in a warm spot, there is still no expansion and no bubbles along the sides or surface.
- Common causes: expired yeast, yeast stored open in a warm cabinet, water that was too hot, or accidentally using much less yeast than the recipe intended.
Fix: for active dry yeast, a quick viability check helps. Stir 1 teaspoon yeast into 1/2 cup warm water (about 100 to 110°F) with a pinch of sugar. If it does not show clear foam in 5 to 10 minutes, it is not reliable. For instant yeast, lack of foam does not always mean failure, so lean more on dough behavior (bubbles and expansion in warmth) than the cup test.
2) Temperature: the quiet room problem
Yeast is moody about temperature. Too cold and fermentation crawls. Too hot and yeast gets damaged or dies. Most home kitchens run colder than recipes assume, especially in winter.
- Signs it is too cold: dough is cool to the touch, barely any expansion, bubbles show up only after many hours.
- Signs it is too warm: dough feels very warm, rises fast then slumps, smells sharply alcoholic early on.
Fix: for most commercial yeast doughs, a dough temperature around 75 to 80°F behaves predictably. Enriched doughs often like it a touch warmer (roughly 78 to 82°F). Create a gentle proof box by:
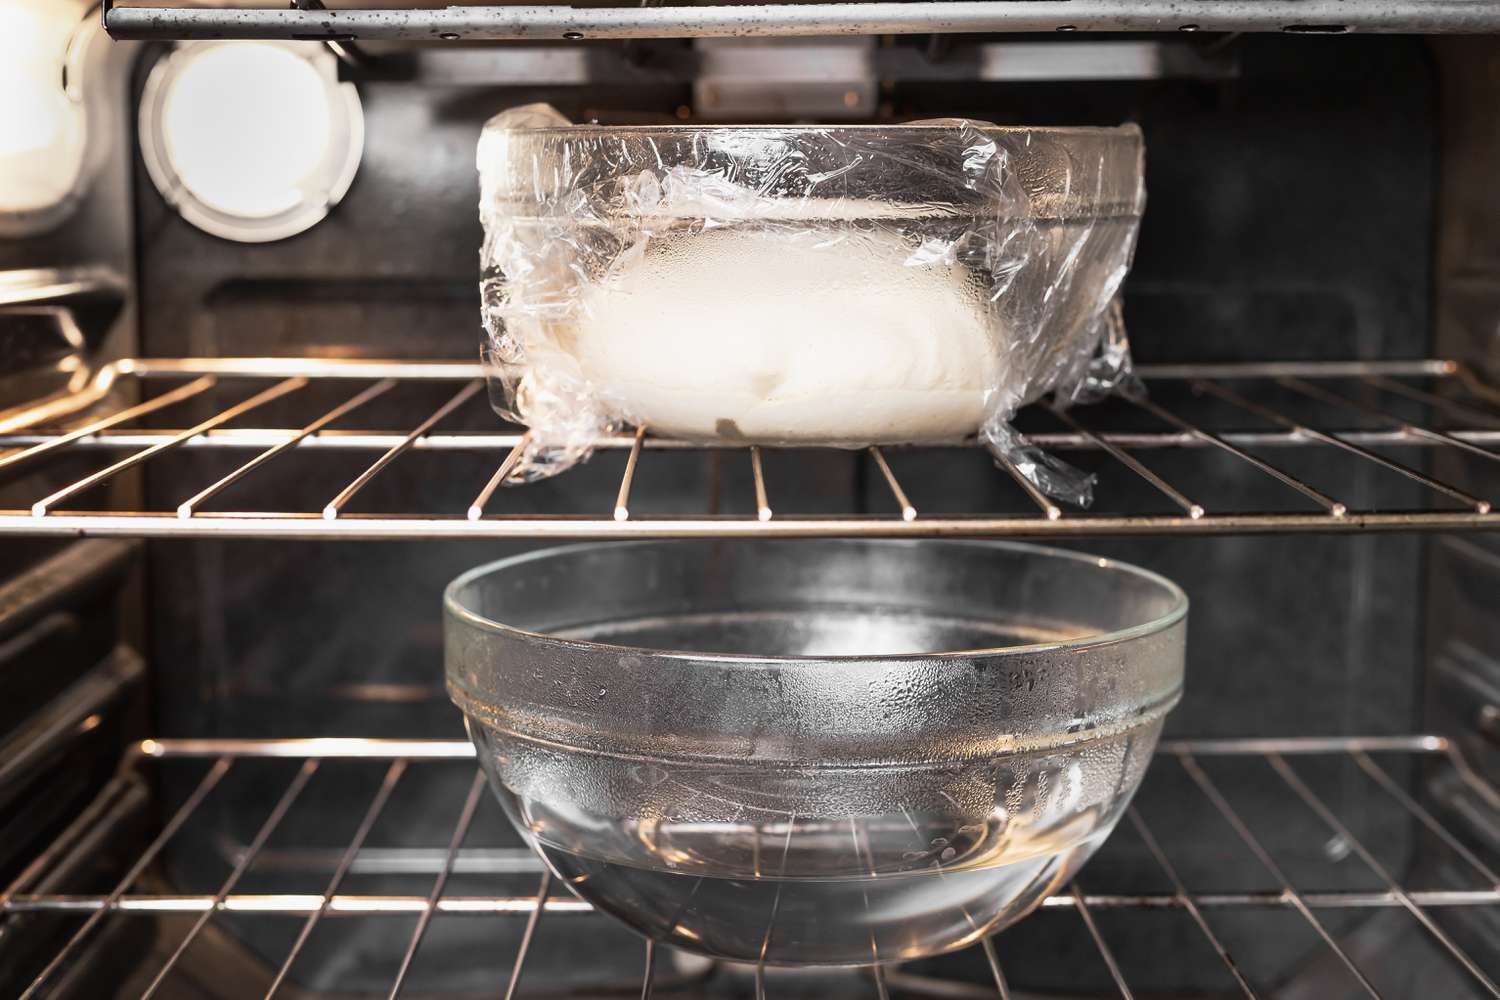
- Turning your oven off, then placing the dough inside with the oven light on.
- Setting the bowl on top of the fridge (old but effective).
- Putting the covered bowl inside a microwave with a mug of hot water next to it.
3) Salt and mixing order
Salt is essential for flavor and structure, and it naturally slows fermentation a bit. The bigger issue is direct contact. In a high concentration, salt can inhibit yeast if it hits it before the dough is mixed.
- Signs: dough seems underactive from the start, especially if salt was dumped onto yeast in one spot.
- Also common: the salt was accidentally doubled (it happens more than people admit).
Fix: next time, mix yeast into flour first, or dissolve yeast in water first, and keep salt separate until everything is moving. If you suspect you truly over-salted, the best fix is usually a remake. You can sometimes salvage by making a second, unsalted half-batch and kneading them together, but it is messy and not always worth it.
4) Hydration that is off
Hydration affects how easily yeast can move and how well gluten develops. Too dry and fermentation slows because yeast cannot distribute well. Too wet and your dough may ferment but struggle to hold gas if gluten is underdeveloped.
- Too dry signs: dough feels stiff, tears easily, hard to knead, surface looks rough.
- Too wet signs: dough spreads, cannot hold shape, feels soupy long after mixing.
Fix: add water or flour in small amounts. Think tablespoons, not cups. Knead or fold to incorporate fully, then reassess after 10 minutes. If your recipe uses cups, consider switching to a scale next time. Flour packs differently every single day.
5) Gluten not developed enough to trap gas
Dough can be fermenting just fine and still look “flat” because it cannot trap the gas. This is common with very wet doughs, whole grain flours (bran cuts gluten), and quick mixes.
- Signs: bubbles appear, maybe some puffing, but the dough spreads instead of doming; it tears when you stretch it.
Fix: do a few rounds of stretch-and-folds (every 15 minutes, 3 to 4 times) or knead until the dough becomes smoother and more elastic. Let it rest between efforts. Gluten tightens when you work it and relaxes when you wait.
6) Time: recipes are not weatherproof
Fermentation is not a stopwatch situation. A recipe that says “rise 1 hour” might mean 1 hour at 80°F with fresh yeast and a warm bowl. Your apartment in February has other plans.
- Signs: dough is slowly improving, smells pleasantly yeasty, and shows bubbles. It is just taking longer.
Fix: follow the dough, not the clock. Give it another 30 to 60 minutes, then reassess. If it is genuinely moving, it is working.
Sourdough notes
If you came here because of that sourdough reference, here is the honest version: sourdough plays by different time rules. It can look quieter, especially with whole grains and cooler rooms, and it may not double as dramatically as a commercial yeast dough.
- Starter strength matters: a starter past its peak can be acidic and sluggish. A young starter can be bubbly but still too weak to lift a loaf.
- Temperature matters more: sourdough often perks up around the upper 70s °F, but timelines can still vary widely.
Quick starter check: feed it and watch for a clear rise and dome. If it reliably rises to its peak after feeding (and smells cleanly tangy, not harsh), it is more likely your dough just needs time and warmth. If it barely rises for multiple feedings, focus on strengthening the starter first.
Rescue guide
If you just mixed the dough
- Check water temp: if it was hot enough that you would not wash your hands in it comfortably, yeast may be compromised.
- Fix now: if you suspect you cooked the yeast, the cleanest save is to start a new yeast slurry (yeast + warm water + pinch of sugar), wait for foam, then knead it into the dough with a bit of flour to bring the texture back. Not elegant, but it works surprisingly often.
- If the dough is dry: drizzle in a tablespoon of water at a time while kneading.
If it is in bulk and nothing is happening
- Warm it up: move the dough to a proof-friendly spot (oven light method is my go-to).
- Give it time: if there is even a hint of bubbles after 60 to 90 minutes in warmth, keep going.
- Try a fold: one set of stretch-and-folds can redistribute yeast, equalize temperature, and wake things up.
If there are zero bubbles after 2 hours in a warm spot: it is likely a yeast or starter strength issue. At that point, kneading in fresh, proofed yeast slurry is still your best rescue for commercial yeast dough.
If it rose once but will not rise after shaping
This is classic “the kitchen got colder” or “we knocked too much gas out and the dough needs patience.” It can also be under-proofing disguised as stubbornness.
- Warm the proof: same gentle proof box tricks apply.
- Extend the proof: add 30 to 90 minutes depending on dough richness and room temp.
- Use the poke test: slow spring-back is your green light to bake.
If it over-proofed
- Re-shape gently: press out large gas pockets, tighten it back into a loaf shape.
- Shorten the next proof: 15 to 30 minutes, then bake. Do not wait for a full dramatic rise again.
- Expect a different crumb: it may bake up tighter and less lofty, but it can still taste great.
If it is enriched dough
Butter, eggs, and sugar slow yeast down. A “lazy” rise here is often normal.
- Fix: proof warmer and longer. Enriched doughs commonly need 2 to 3 hours for the first rise in a cool kitchen.
- Extra tip: if butter was too cold and stayed in chunks, the dough can feel heavy and rise unevenly. Let it sit 15 minutes, then knead briefly to smooth it out.
Quick diagnostics
Does the yeast work?
If you have any doubt, the 10-minute foam test is useful for active dry yeast. For instant yeast, treat it as a rough hint, not a verdict, and prioritize what the dough does in a warm spot.
Is your warm spot warm?
Kitchen counters lie. If you have a thermometer, use it. If you do not, use touch: dough should feel comfortably warm, not chilly.
Water issues
Most tap water is fine, but very heavily chlorinated water can slow fermentation. If your dough consistently struggles and everything else checks out, try filtered water once and see if your results change.
Bench flour creep
When dough feels sticky, it is tempting to keep dusting. That extra flour can quietly dry out the dough and slow fermentation. Use a light dusting, or oil your hands and surface instead for wetter doughs.
When to stop rescuing
Sometimes the kindest move is to pivot. If the dough has been warm for hours with no bubbles and no life, repurpose it instead of wrestling it into a loaf.
- Flatbread: divide, roll thin, cook in a hot skillet.
- Focaccia-ish pan bread: press into an oiled pan, dimple, top with salt and herbs, bake as-is.
- Crackers: roll thin, oil, salt, bake until crisp.
Prevention
- Store yeast cold: once opened, keep it in an airtight container in the fridge or freezer.
- Use a scale: especially for flour and water. Consistency is the secret ingredient.
- Know one temperature target: 75 to 80°F dough temp makes many commercial yeast recipes behave.
- Salt is not the enemy: just avoid dumping it directly on yeast before mixing.
- Build in time: if you are baking for guests, give yourself a cushion. Fermentation does not care about your dinner plans.
FAQ
Can I bake bread that did not rise much?
Sometimes, yes. If the dough shows bubbles and smells pleasantly yeasty, it is fermenting. You may get a denser loaf, but it can still be delicious, especially toasted. If there are no bubbles and it tastes like raw flour, fix the fermentation first.
Is it okay to let dough rise overnight?
Often, yes. Overnight rises usually happen in the fridge (cold fermentation), which slows yeast and builds flavor. If your dough is already racing at room temp, the fridge is a great way to hit pause.
My dough rose, but the loaf is dense. Why?
Common reasons: underdeveloped gluten, under-proofing after shaping, shaping that knocked out too much gas, or over-fermenting earlier and then trying to push it through another long proof. It can also be an oven issue (not fully preheated) that prevents good oven spring.
How warm is too warm for yeast?
As a rule of thumb, water above 120°F can start to damage yeast. By roughly 130 to 140°F, yeast can die quickly. Aim for 100 to 110°F when dissolving active dry yeast. If you are unsure, cooler is safer. Yeast can work slowly in cool water. It cannot come back from being cooked.